

Build immersive 3D rooms
Everything you need to design, publish, and share interactive spaces — from your first click to a live, shareable room.
Quick Start
Get up and running in under five minutes. This guide walks you through creating your first room, adding an asset, and hitting publish.
1. Create your account
Create an account via creator.xrwise.tech in order to manage your rooms and your profile.
2. Create a new room
From the dashboard, click `Create new room` and pick a template — or start from a blank canvas. Every room starts with a floor, ambient lighting, and a default camera.
3. Start building
To edit your room, place items and add interactions to objects, you can use the XRwise Creator editor. You can choose from a variety of pre-fabricated items like cubes, spheres, lights and text.
Visibility
Control who sees your room. Set it to public, password-protected, or invite-only. You can update these settings at any time without republishing.
Public
Anyone with the link can view. Searchable on the XRwise gallery.
Private
Visitors must enter a password before the room loads.
Camera Controls
Move camera and target
To move both the camera and the point you're looking at, use the W, A, S, D keys. This allows you to navigate smoothly around the room.
Pan the camera
Right-click and drag to slide the camera and its target sideways or up and down, without rotating the view. Useful for lining up items without needing to reposition with W, A, S, D.
Move camera angle
To change the camera's viewing angle, click and drag on the canvas. This rotates the camera while keeping the target point fixed.
Interface Overview
Inspector
On the right side of the editor you have the inspector. Here you can adjust certain attributes of your items like dimensions, position, rotation, color and material. Depending on the item, there may be additional attributes.
Grabable
Toggle Grabable on to let visitors pick up and move the item themselves while exploring your room.
- Available on Cube, Sphere, Cylinder, Cone, Text, and Custom items.
- Not shown on structural or fixed items — Floor, Wall, lights, Entrance, Exit, Area Colliders, and Streaming items always stay in place.
Moving Items
Selecting an item shows a move gizmo at its center. It has three ways to grab it, depending on how many axes you want to move along at once.
One axis
Drag one of the three colored arrows (red for X, green for Y, blue for Z) to move the item along just that axis.
Two axes at once
Drag the small colored square between two arrows to move freely within that plane — for example, the square nearest the floor slides the item across X and Z without changing its height.
All three axes
Drag the small handle at the very center of the gizmo to move the item freely in 3D space, following the cursor on all axes at once.
Rotating
The Inspector's Transform section has a Move / Rotate toggle — switch to Rotate and the same gizmo spins the item around each axis instead of moving it.
- Available for any item that shows a Rotation field in the Inspector, and for groups too.
- Selecting something new resets the gizmo back to Move.
Magnetic Snapping
Hold ⌘ Cmd (or Ctrl on Windows/Linux) while dragging an item to snap it into place.
- Snaps to the edges of nearby items, so two pieces can be lined up flush against each other.
- Snaps down to rest on the floor when close to it.
- Only active while the key is held — release it to move the item freely again.
Sidebar
The sidebar of the editor has four main sections: the building section, the custom items, the item list and the world settings.
Building
Choose from a variety of pre-defined items to place in your 3D room.

Custom Items
Upload custom 3D objects and use them in your room.

Item List
All items that are placed in your room can be seen as a list here.

Settings
Main settings for your world like grid and sky color can be adjusted here.
Pre-defined Items
To get started with your 3D room, there are some pre-defined items for you to use. They are categorized into groups and can be placed by clicking on them in the left side of the editor.
Basic
Basic geometrical shapes to build anything you want

Light
Directional and point light for making your room brighter

Room Access
Entrance and Exit - to manage access to your room
Streaming
Items for streaming videos or simply placing an image in your room

Text
A simple text component for placing words in your room
Logic
Trigger areas for Block Coding, plus a sizing-reference dummy
Basic
Geometric primitives for constructing rooms, platforms, and decorations. All basic shapes support position, rotation, scale, and color.
Cube
A box with independently adjustable width, height, and depth. The most versatile building block for walls, platforms, display plinths, or any architectural element.
- Adjustable X / Y / Z dimensions
- Position, rotation, scale
- Custom color or material
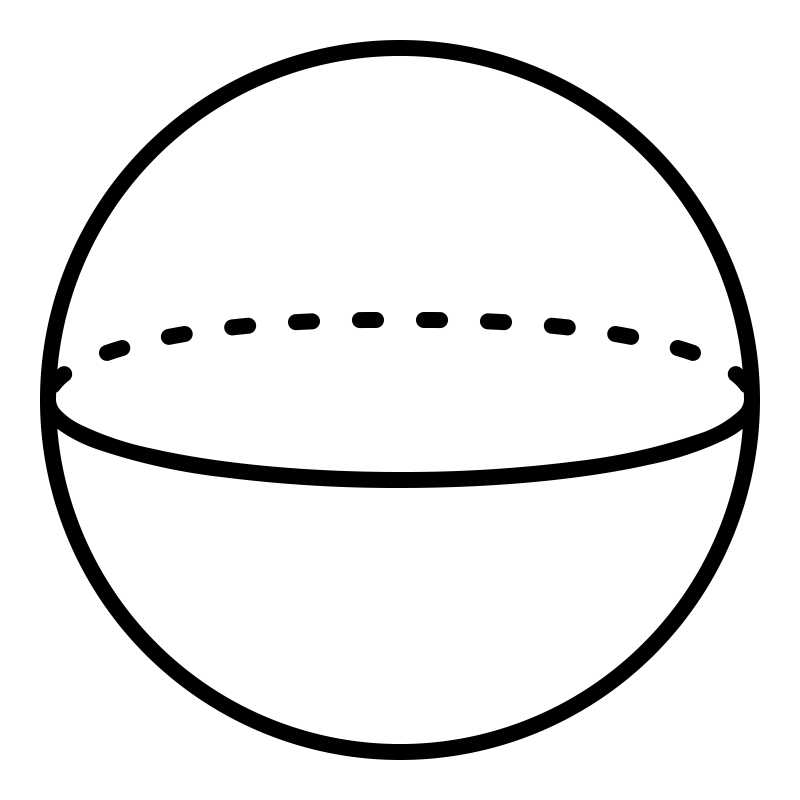
Sphere
A perfectly round shape useful for decorative elements, orbs, or organic forms that don't fit a boxy shape.
- Adjustable X / Y / Z scale
- Position, rotation
- Custom color or material
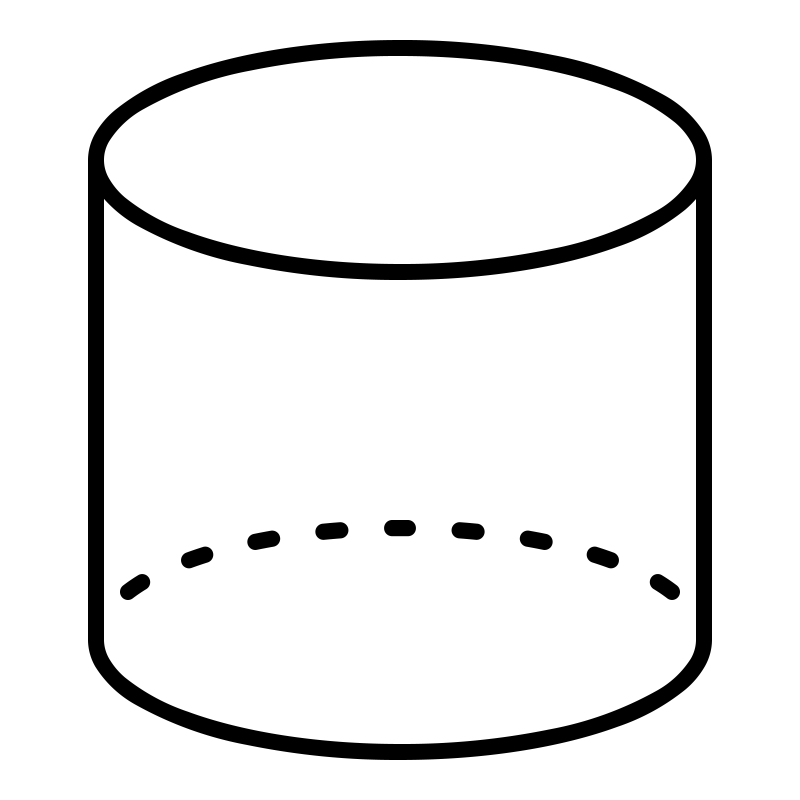
Cylinder
A round column ideal for pillars, tubes, pedestals, and curved platforms.
- Adjustable X / Y / Z dimensions
- Position, rotation, scale
- Custom color or material
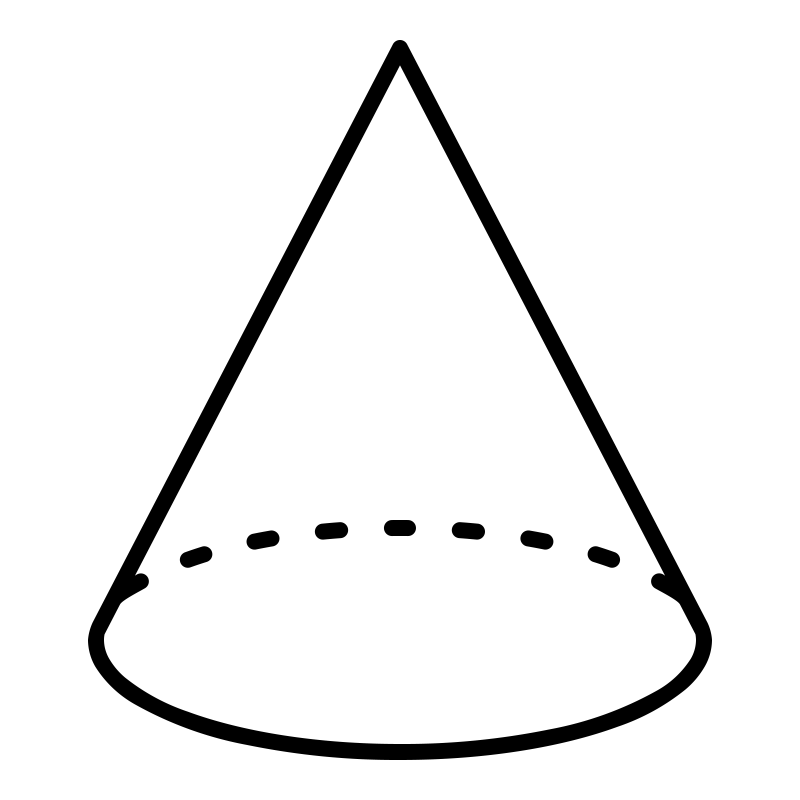
Cone
A tapered shape tapering from a flat base to a point. Useful for rooftops, spires, arrows, or directional markers.
- Adjustable X / Y / Z dimensions
- Position, rotation, scale
- Custom color or material

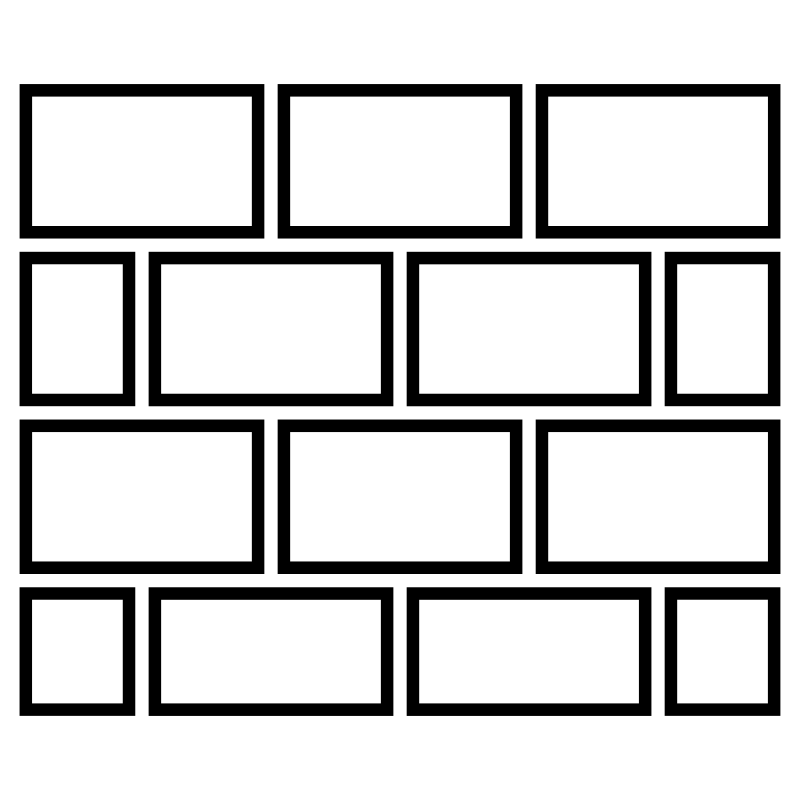
Floor
A wide, flat panel designed to serve as the ground surface of your room. Spawns at Y=0 and receives shadows cast by light sources.
- X / Z dimensions (width and depth)
- Position, rotation, scale
- Custom color or material
- Receives shadows from lights
Wall
A tall, thin panel for defining room boundaries and partitions. Spawns upright and receives shadows from light sources.
- X / Y dimensions (width and height)
- Position, rotation, scale
- Custom color or material
- Receives shadows from lights
Light
Add dynamic illumination to your room. Up to 2 of each light type can be placed per room.
Point Light
Emits light equally in all directions from a single point in 3D space, like a bare light bulb. Ideal for creating localized illumination around a specific spot.
- Adjustable intensity
- Custom light color
- Position control
- Max 2 per room

Directional Light
A parallel light source where all rays travel in the same direction, simulating distant sunlight. Best used for general room brightness and creating consistent shadows.
- Adjustable intensity
- Custom light color
- Position control (determines the light direction)
- Max 2 per room
Room Access
Control where visitors spawn and where they leave. Each type can only be placed once per room.
Entrance
A flat circular disc that marks the spawn point where visitors appear when entering your room. Place it at the location where you want visitors to arrive.
- Position control
- Max 1 per room
- Fixed size and appearance

Exit
A red flat disc that teleports visitors out of your room when they step on it. Place it wherever a natural exit point makes sense in your layout.
- Position control
- Max 1 per room
- Fixed size and appearance
Streaming
Flat panels for displaying images, videos, live streams, and presentations directly on 3D surfaces in your room.

Billboard
A flat panel for displaying a static image on a 3D surface. Upload any image file from your device and it appears on the panel instantly.
- Image upload from your device
- Adjustable width and height
- Position, rotation, scale
LiveKit Stream
Displays a live video feed from a LiveKit room on a 3D surface. Connect it by entering a LiveKit room name, then choose how the video is rendered with three shader modes.
- LiveKit room name configuration
- Shader: unlit (raw), lit (affected by scene lights), or green screen
- Green screen chroma key with color, border softness, and proximity controls
- Width and height crop to trim the stream frame
- Position, rotation, scale

Video Wall
Plays a video file on a 3D surface. Upload any video format — it is automatically converted in the background while you keep working. Previously uploaded videos are stored in a personal library for reuse across rooms.
- Upload any video format
- Automatic background conversion with progress tracking
- Personal video library to reuse previously uploaded videos
- Adjustable width and height
- Position, rotation, scale

Presentation
Displays a PDF as an interactive slide presentation on a 3D surface. Visitors can navigate through the pages directly in the room. Requires a logged-in account to upload files.
- PDF upload (account required)
- Personal PDF library to reuse previously uploaded documents
- Interactive slide navigation for visitors
- Adjustable width and height
- Position, rotation, scale

Camera
A virtual surveillance camera that renders a live viewport from its position in the scene. Useful for giving visitors a fixed perspective of part of your room — for example, a security monitor or a scenic overlook.
- Zoom level from 1× to 10×
- Configurable target point (X / Y / Z) to aim the camera at any location
- Position control
Text
Place readable 3D text anywhere in your room.
Text
Renders editable 3D text directly in your room. Customize the content, size, weight, and color entirely from the inspector. Behaves like any other object — fully positionable, scalable, and rotatable.
- Editable text content
- Font size and font weight controls
- Custom color or material
- Position, rotation, scale
- Adjustable X / Y / Z dimensions
Logic
Helper items that support building your room — trigger zones for Block Coding, and reference objects that aren't part of the finished scene.
Area Collider
A flat zone that glows orange in the editor so you can see its position and footprint. Pair it with the When in area Block Coding trigger to run an effect whenever a visitor steps inside it — for example revealing a hidden object or starting an ambient sound.
- Adjustable X / Z footprint
- Position and rotation
- Glowing orange preview, visible in the editor
- Hide it in the editor with the Areas toggle in World Settings → Visibility

Dummy
Places a human-shaped stand-in in your room so you can judge how furniture, doorways, or props measure up against a person. It's a sizing reference only — it isn't meant to be a decorative finished asset.
- Position and rotation only
- Fixed size — no dimensions, scale, or color controls
Custom Items
Upload and use custom 3D objects to make your room unique and fit your needs.
Upload your 3D file
You can upload 3D files that are in the GLB format.
To ensure the best performance and experience, keep the following tips in mind:
- Keep file sizes as small as possible to reduce loading times.
- Optimize textures and avoid unnecessarily high resolutions.
- Make sure all textures are embedded correctly in the GLB file.
- Center and scale your model appropriately before exporting.
- Apply transforms and remove unused objects or materials.
Item List
In the item list you can see all the items you placed in your room. You can click on any item to select it.
Grouping
Combine several items into a single group so you can select, move, and manage them together — handy for furniture sets, signage, or any cluster of items that should stay in sync.
Select multiple items
Shift-click items in the canvas or the Item List to add them to your selection.
Create a group
Click "+ New Group" in the Item List at any time to start an empty group — or select 2 or more items (or groups) first and click the "Group" button that appears to combine them directly.
Drag items into a group
In the Item List, drag an item or group onto an existing group to move it inside. Drag it onto empty space in the list to move it back out to the root level.
Move or rotate as one
Selecting a group in the Item List shows a single gizmo at its center, with a Move / Rotate toggle and exact Position / Rotation fields in the Inspector — drag the gizmo or type values to transform every item inside the group together.
Rename or ungroup
Double-click a group's name in the Item List to rename it, or click the ✕ next to it to ungroup — the items themselves are kept, only the grouping is removed.
Materials
Give an item a tiled surface texture instead of a flat color — brick, cobblestone, wooden panels, and more. Open the Inspector for a selected item and look for the Material section, right below Color.
Pick a material
Click a swatch to apply it — the texture tiles automatically to fit the item's size. Click "None" to remove it and go back to a flat color.
Color is kept underneath
Your item's color isn't lost when you apply a material — it's just hidden. Switch back to "None" at any time to restore the exact color you had before.
Available on Cube, Sphere, Cylinder, Cone, Floor, Wall, and Text. Not available on Point Light or Directional Light, since their color controls light emission rather than a surface.
Settings
World Settings
Room-wide settings that apply to the whole scene rather than a single item.
Sky Color
Sets the background color visitors see behind your room. Pick from a curated palette, or switch to Custom for a full color picker.
Grid
Toggles the reference grid on the floor of the editor on or off. It's an editor-only alignment aid — it never appears in the published room.
Sound
Upload an audio file to play as ambient background sound while visitors explore your room. Upload a new file at any time to replace it, or remove it entirely.
Creator Settings
Set your preferences on how to work with the creator.
Appearance
Switch the Creator's own interface between Light, Dark, or System theme. This only changes how the editor looks — it has no effect on your room.
Visibility
Three toggles let you hide clutter while you work. Switching one off only affects what you see in the editor — every item stays in your room and is saved normally.
LightsHides Point Light and Directional Light gizmos so they don't clutter the view while you place other items.
WallsHides Wall items — handy for seeing and editing what's happening inside a room without the camera clipping through a wall.
AreasHides Area Collider items and their orange glow, for a clean preview of how the room will actually look to visitors.
Broadcaster
The Broadcaster publishes your webcam or screen from any browser straight into a LiveKit Stream item placed in a room — no extra software, and nothing to install on your end. It's reachable on its own page at
/livestream, separate from the room editor.
1. Place a LiveKit Stream item
In the Creator, add a LiveKit Stream item to your room from the Streaming category in the item panel.
2. Give the stream a name
Select the item, then set its Stream Name in the Inspector — this is the stream's own name, not the room's. You'll pick this same name again in step 4.
3. Save the room
Save your changes in the Creator so the stream name is stored with the room.
4. Pick the room and stream
Open the Broadcaster page, toggle between my rooms and public rooms, then choose the room and stream name you just set from the dropdown.
5. Share your screen or camera
Click Share screen or Use camera to start publishing — it appears on the item right away, and stays live until you click Stop streaming or close the tab.
Browsing vs. going live
Anyone can open the Broadcaster page and browse public rooms — no account needed. Actually starting a stream requires being logged in.
One broadcaster at a time
A room can only have one active stream at a time. If someone else is already live there, the Share/Use camera buttons stay disabled until they stop.
Launch
Once your room is ready, open the Launch panel from the sidebar's rocket icon (between Settings and Support) — it has two actions: preview the room as visitors will see it, or export what you've placed as a standalone 3D file.
Preview
Saves the room, then opens it in the published XRwise Viewer — the same experience visitors get, including any Block Coding scripts and live streams. Requires being logged in, since it saves first.
Export to GLB
Downloads everything currently placed in the room as a single .glb file — ready to open in Blender, Unity, or any other 3D tool. Only the placed items themselves are included; the editor's grid and any selection gizmo are left out automatically.
The GLB export is a snapshot of the visible geometry — it doesn't carry XRwise-specific data like Block Coding scripts, LiveKit room names, or Area Colliders, since those have no equivalent in the GLB format.
Block Coding
Block Coding lets you add interactive behaviours to your room without writing any code — similar to Scratch. Build scripts by stacking coloured blocks: a Trigger or Source block defines when something happens, an optional Repeat block controls how many times it happens, and one or more Effect blocks define what changes as a result.
Open the panel by clicking the Blocks button in the bottom-right corner of the editor. The panel docks below the 3D viewport so you can see your room and your scripts at the same time.
How it works
Each script is a stack of blocks. A head block — either a Trigger or a Source — sits at the top, an optional Repeat block can follow it, and the Effect blocks attach at the bottom. When the head fires, all connected effects run — repeatedly, if a Repeat block is present.
Drag blocks from the left palette onto the workspace, or click them to create a new script. Drop additional Repeat or Effect blocks onto an existing script to stack them.
Block types
Head block
Trigger block
Sits at the top of every script. Watches a specific scene object and fires all attached Effect blocks when the chosen event occurs.
Head block · alternative to Trigger
Source block
A Source block doesn't take a URL you enter — instead XRwise gives your own backend, device, or game server a fixed endpoint to POST data to, and every Source block you add gets its own unique Interaction ID so that endpoint knows which one to trigger.
Open the block in the editor and use the two Copy buttons on it:
- Copy the target URL — the same fixed endpoint for every Source block, in every room.
- Copy the example request body — pre-filled with that block's Interaction ID and the current room's ID.
https://nakama.xrwise.tech:7350/v2/rpc/signal_match?http_key=xrwise-http-key&unwrap
Send it as an HTTP POST with header Content-Type: application/json and a body shaped like:
{"interactionId":3,"roomId":"...","payload":"123"}payload must always be sent as a string — even if the value is numeric or boolean, e.g. "123" or "true", not a bare number or boolean.
If the block is set to Serves a trigger with condition any value received, payload can be left out of the body entirely — only interactionId and roomId are required in that case. It's still required whenever the block compares against a threshold (>, <, =, ≠, ≥, ≤) or when it's set to Serves a value.
Body block · optional
Repeat block
An optional block that sits between the head block (Trigger or Source) and the Effect blocks. Instead of firing the effects once, it repeats them according to the chosen mode — pick the mode from a dropdown directly on the block.
Body block
Effect block
Attaches below a Trigger or Source block and applies a visual change to a target object (or the sky) each time the head block fires. Multiple Effect blocks can be stacked on a single script.
Keyboard Shortcuts
| Action | Shortcut |
|---|---|
| Move camera | W, A, S, D |
| Pan camera | Right-click + drag |
| Orbit camera | Left-click + drag |
| Zoom | Scroll wheel |
| Select object | Left-click |
| Save | ⌘ + S |
| Delete | ⌘ + del |
| Copy | ⌘ + C |
| Paste | ⌘ + V |
| Duplicate | ⌘ + D |